Visualstudiocode
Using Visual Studio Code
Please install the following requirements:
- Visual Studio Code https://code.visualstudio.com/
- .NET Core SDK V2.1 LTS https://dotnet.microsoft.com/download/dotnet-core/2.1, Windows x64
- Git Bash https://git-scm.com/downloads - optional, integrated in VS Code
After opening your first project in Visual Studio Code you will be asked to download multiple packages (e.g. Omnisharp, ...)
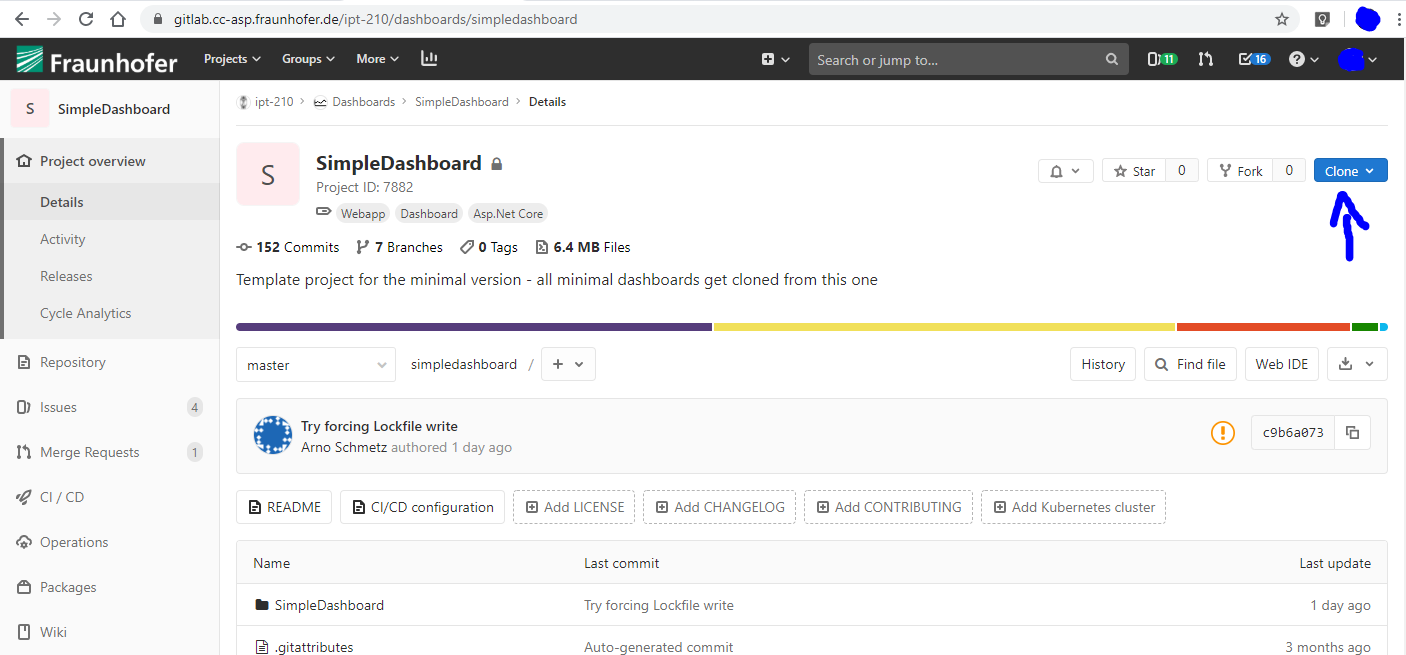
Clone project
Open the integrated Command Palette by pressing Ctrl+Shift+P.
Enter Git: Clone command and press Enter. You will be asked for your full .git URL.
Copy your .git URL from your generated project. In this example HTTPS is used.
Your URL should look like this:
https://gitlab.cc-asp.fraunhofer.de/ipt-210/dashboards/<your-dashboard-name>dashboard.git
or like this:
https://git-ce.rwth-aachen.de/dashboards/<your-dashboard-name>dashboard
Please refer to the official docs in case of an issue.
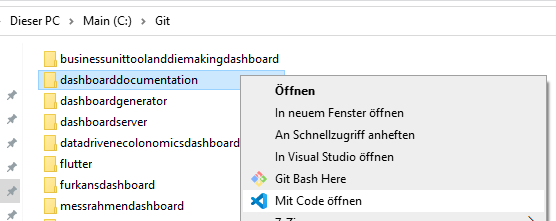
Open project
Navigate to the cloned folder, navigate to the folder that has a .csproj file and perform a right-click on it. Select Open with Code.
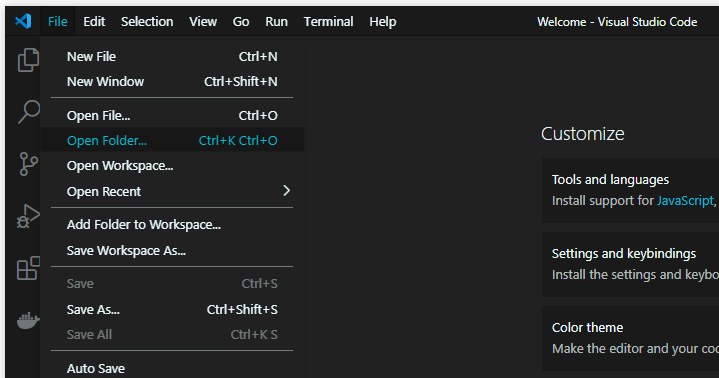
Alternatively you can run Visual Studio Code first and select File -> Open Folder.... Select your cloned .git-Folder and you are ready to modify your dashboard.
Modify
Modify your dashboard by adding a new Razor Page. Your are free to fully edit this page and fill it with your content, visualizations and data.
See this tutorial for help.
Please do not edit:
Index.cshtmlorIndex.cshtml.cs- Show SimpleDashboardEdit.cshtmlorEdit.cshtml.cs- Edit SimpleDashboard
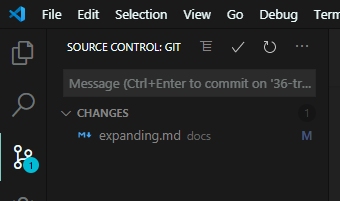
Commit and Push
-
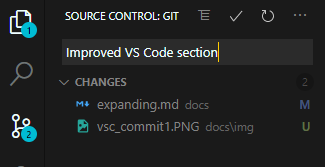
Click on the Git icon and check your changes.
-
Enter a suitable commit message
-
Press
Ctrl+Enterto commit.
As you can see, there are two staged commits ready to be pushed on the Gitlab server.
-
Push your commits
By pressing the arrow with the count of staged commits, you trigger the Sync routine. Visual Studio Code will synchronize both Git-Repositories by itself.
Please refer to the official docs in case of an issue.