Visualstudio1719
Using Visual Studio 2017/2019
As of February 2020 there is no available solution for WZL users to develop with Visual Studio 2017/2019 which is mandatory to develop ASP.Net Core 2.1 applications.
Please refer to Visual Studio Code section instead.
Clone project (VS17/19)
-
Copy your
.gitURL from your generated project. In this exampleHTTPSis used.Your URL should look like this:
https://gitlab.cc-asp.fraunhofer.de/ipt-210/dashboards/<your-dashboard-name>dashboard.gitor like this:
https://git-ce.rwth-aachen.de/dashboards/<your-dashboard-name>dashboard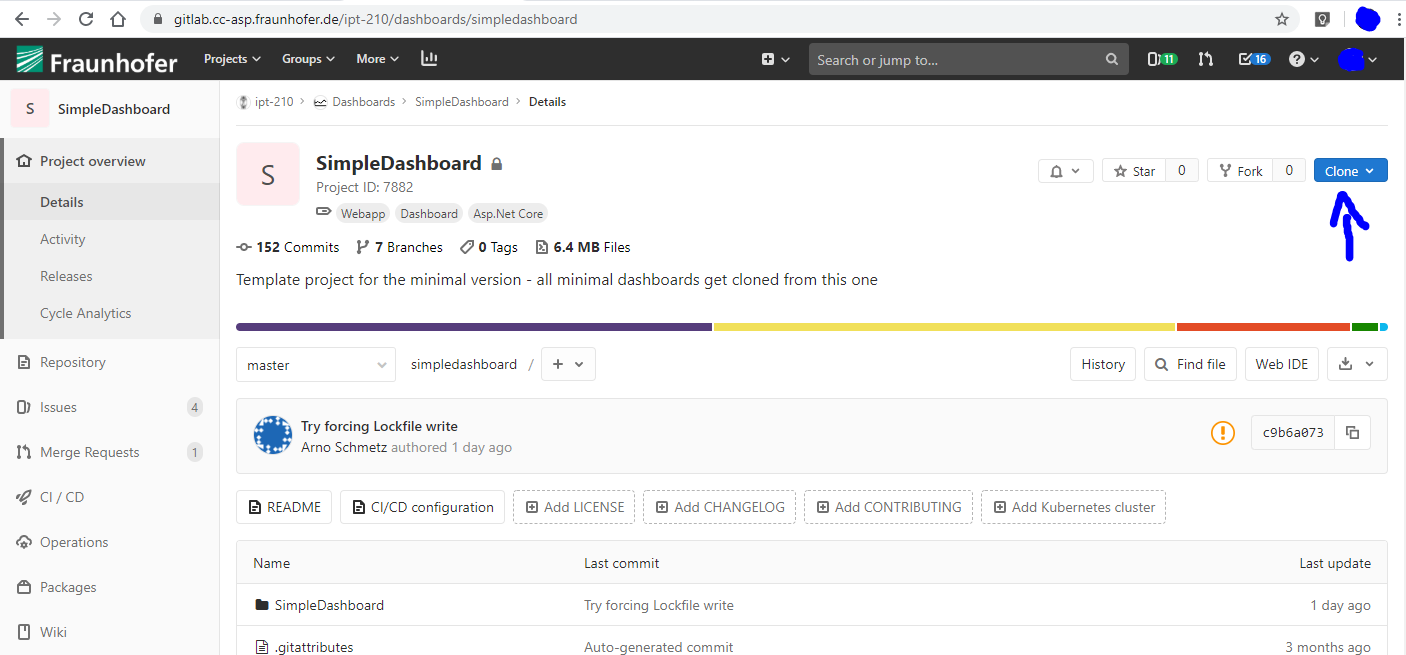
-
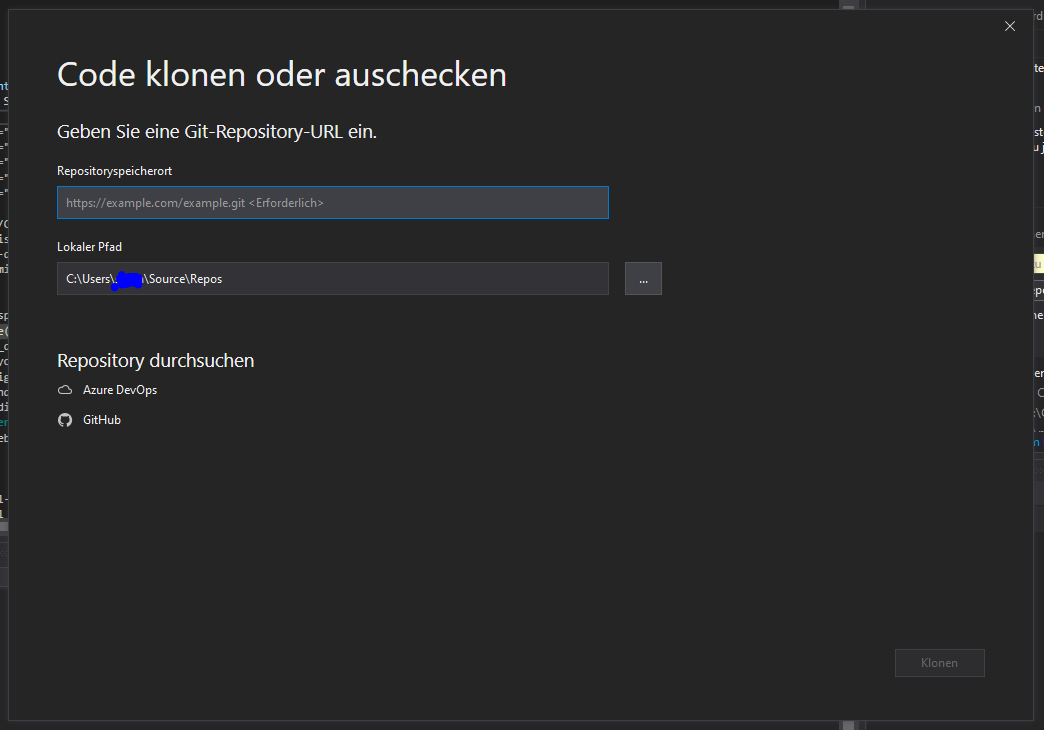
Clone your project by entering the *.git - URL to Visual Studio 2017/2019 in the
Clone projectsection. The image was created with Visual Studio 2019.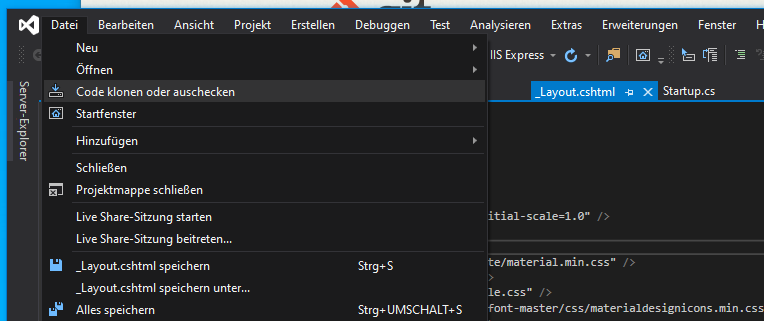
Modify (VS17/19)
Modify your dashboard by adding a new RazorPage. Your are free to fully edit this page and fill it with your content, visualizations and data.
Please do not edit:
Index.cshtmlorIndex.cshtml.cs- Show SimpleDashboardEdit.cshtmlorEdit.cshtml.cs- Edit SimpleDashboard
Create a new RazorPage
-
Right-click the
Pagesfolder in your project and selectAdd -> Razor-Page.... -
Enter a suitable name. This name will also be your future page URL.
Example:
https://<your-dashboard>.dashboards.vfk.ipt.fraunhofer.de/<RazorPage> -
Select the default Layout-file
Pages/Shared/_Layout.cshtml. -
Press
Addto start generation.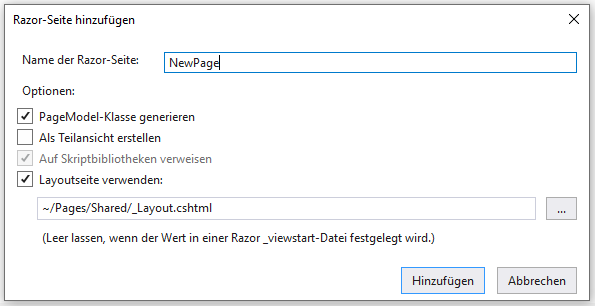
-
Adapt your new created RazorPage files to the provided schema of
RazorPageExample.Model-File -
RazorPageExample.cshtml.cs```csharp using SimpleDashboard.Features; using SimpleDashboard.Models;
namespace SimpleDashboard.Pages { public class RazorPageExampleModel : PageModel { #region DoNotDelete internal TagManager tagManager;
    [BindProperty]
    public BasicTemplate SimpleTemplate { get; set; }
    #endregion

    public RazorPageExampleModel(TagManager _tagManager)
    {
        tagManager = _tagManager;
    }

    public void OnGet()
    {
        #region DoNotDelete
        SimpleTemplate = Features.Tools.LoadAssets();

        if (!string.IsNullOrEmpty(SimpleTemplate.Tags))
            tagManager.ReplaceTags(SimpleTemplate.Tags.Split(";").ToList());
        #endregion
    }
}
} ```
All Html/CSS/Javascript-related stuff should be placed in the
.cshtml- file.View-File -
RazorPageExample.cshtml```csharp @page @model SimpleDashboard.Pages.RazorPageExampleModel @{ ViewData["Title"] = "RazorPageExample"; Layout = "~/Pages/Shared/_Layout.cshtml"; }
RazorPageExample
```Cell 1
Example 1
Cell 2
Example 2
See this official tutorial for further help.
Run your dashboard
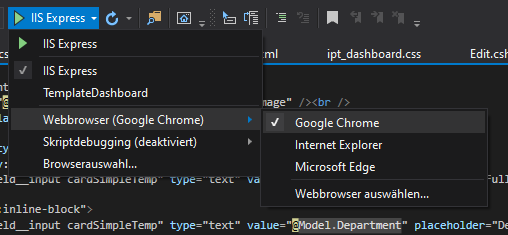
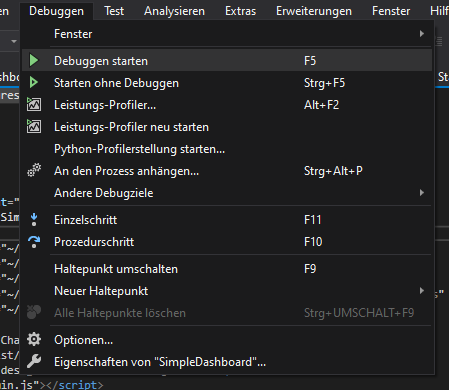
Press IIS Express button or F5 key and your dashboard gets compiled and started.

A new browser window opens up.
You can also switch your browser by clicking
Commit and Push (VS17/19)
After editing your project you should perform the following steps:
-
Build, Run and Test(F5) your project
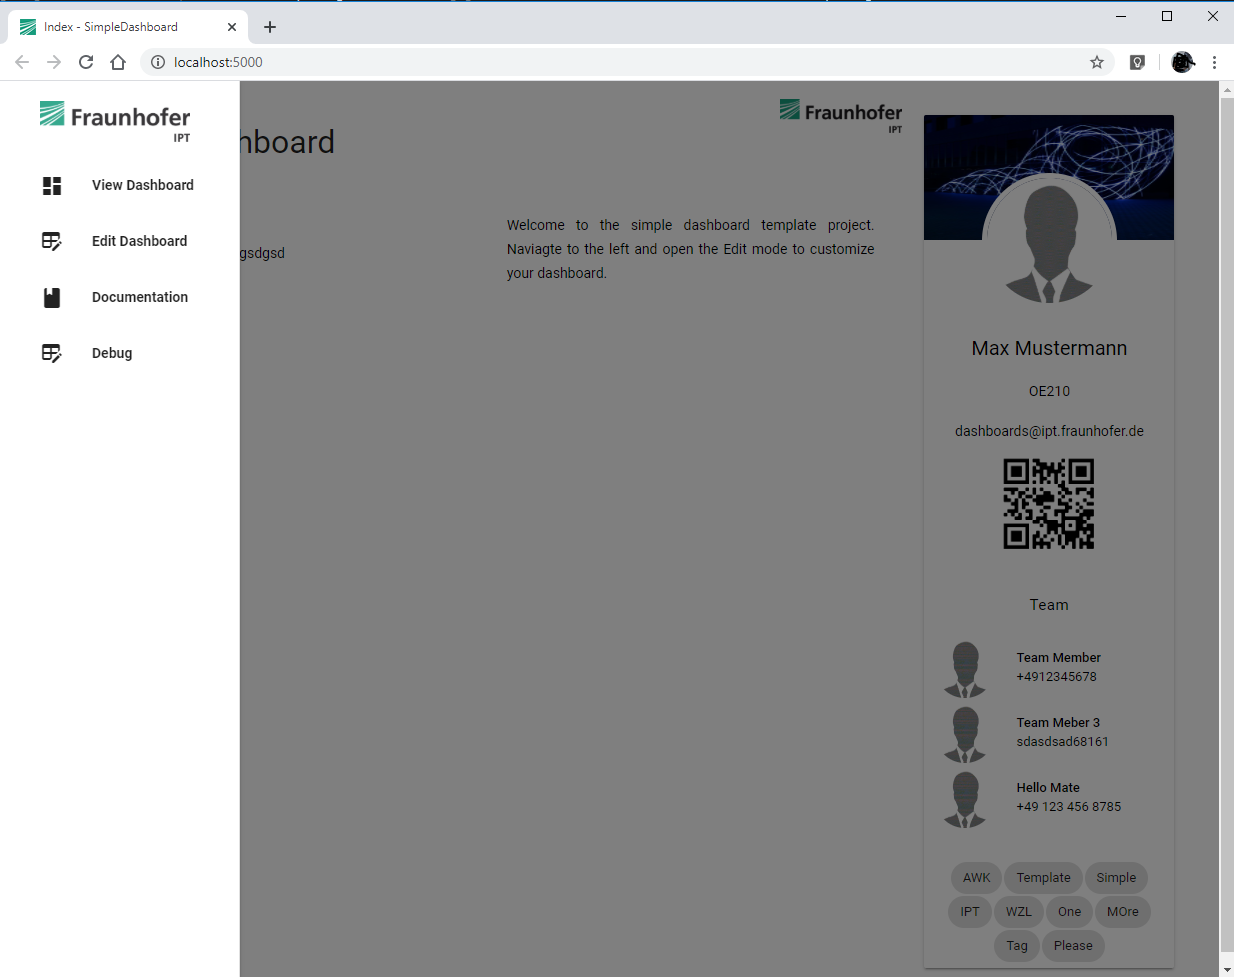
Your browser opens up a screen at
https://localhost:5000orhttp://localhost:5000 -
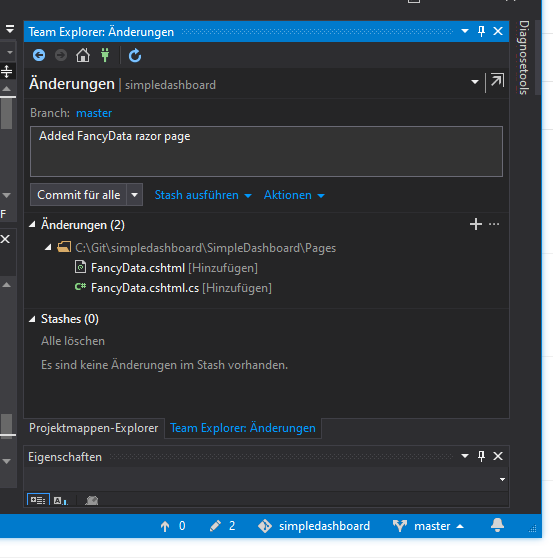
Commit if result is satisfying
-
Push your commit.
Select
Commit and Syncfor Fetching, Pulling and Pushing your commit.
Alternatively you can commit multiple times and push all commits at once by pushing the arrow symbol.
Your work will now be synchonized with the corresponding Gitlab instance. If you commited to the master-branch, your results will be public available after the CI pipeline succeeded.